
✨ 1 Week - JS Study
안녕하세요. 소시지입니다.
본 포스팅은 <2025.01.17 ~ 2025.01.31> 기간의 JS 스터디 2주차 학습 내용을 기록했습니다.</span>
🗓️ 2주차 진행 (2025.01.24)
2 week
Returns
→ return을 사용하지 않은 예제
const age = 96;
function caculateKrAge(ageOfForeigner){
    ageOfForeigner + 2;
}

const krAge = calculateKrAge(age);

const age = 96;
function calculateKrAge(ageOfForeigner){
    return ageOfForeigner + 2;
}

const krAge = calculateKrAge(age);

console.log(krAge);
→ function이 function 밖의 기능과 상호작용 가능하다.
const age = 96;
function calculateKrAge(ageOfForeigner){
    ageOfForeigner + 2;
    return "hello";
}

const krAge = calculateKrAge(age);

console.log(krAge);
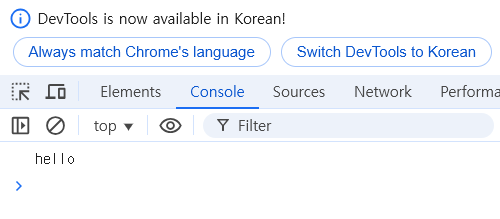
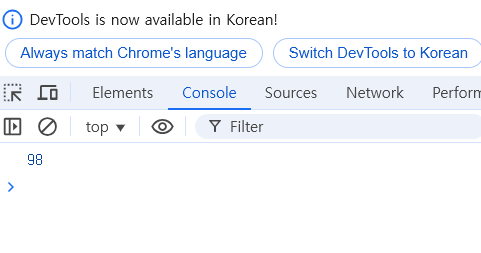
function의 반환 값은 같은 variable을 console.log 하고 있다.
나이가 아닌 “hello”가 출력되는 것!
Conditionals (조건문)
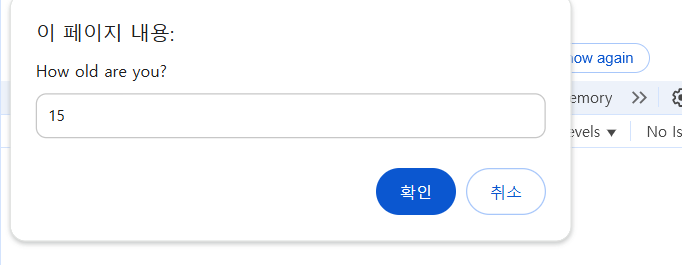
prompt()는 2개의 argument를 받는데 하나는 messsege(문자), 다른 하나는 default 값이다.
prompt는 사용자에게서 messege를 보여주고 값을 넣으라고 말해준다.
const age = prompt("How old are you?");

console.log(age);
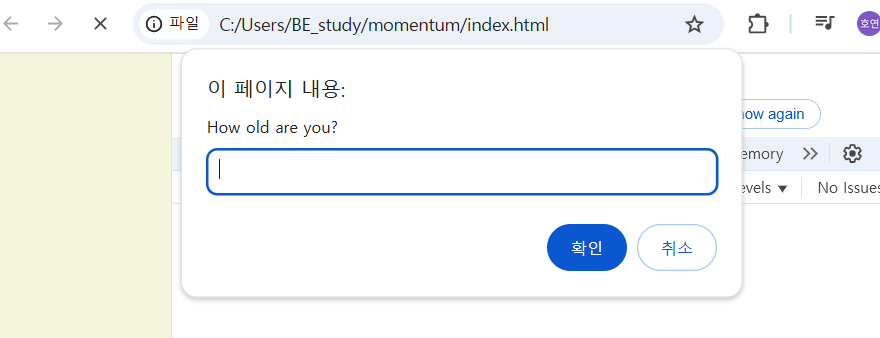
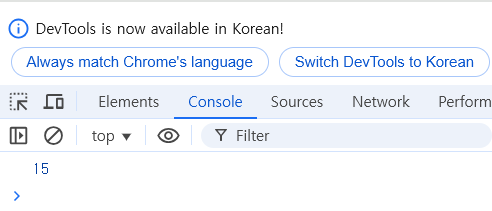
만약 15 값을 입력하면 숫자 15가 아닌 string15 (”15”)가 출력된다.
parseInt()
string을 number로 변환한다.
const age = parseInt(prompt("How old are you?"));

console.log(age);
isNaN
function은 boolean으로 알려준다.
const age = parseInt(prompt("How old are you?"));

console.log(isNaN(age));
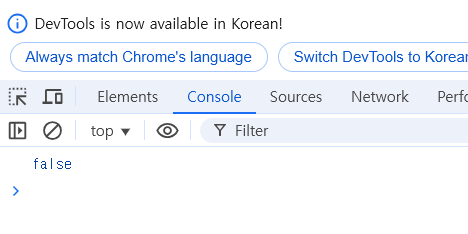
→ age는 number가 아닌 것(NaN)이 아니라는 뜻이다. 즉, 숫자라는 것을 의미한다.
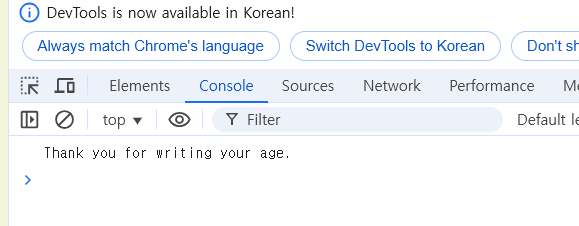
const age = parseInt(prompt("How old are you?"));

if(isNaN(age)){
    console.log("Please write a number");
} else {
    console.log("Thank you for writing your age.");
}
조건문이 여러 개인 경우(ex)
**const age = parseInt(prompt("How old are you?"));

if(isNaN(age)){
    console.log("Please write a number");
} else if (age<18) {
    console.log("You are too young");
} else {
    console.log("you can drink");
}**
HTML in Javascript
**
<!DOCTYPE html>
<html lang = en>
<head>
    <meta charset="UTF-8">
    <meta http-equiv="X-UA-Compatible" content="IE=dege">
    <meta name="viewport" content="width=device-width, initial-scale=1.0">
    <link rel="stylesheet" href="style.css">
    <title>Momentum</title>

</head>
<body>
    <h1 id="title">Grab me!</h1>
    <script src="app.js"></script>
</body>
</html>
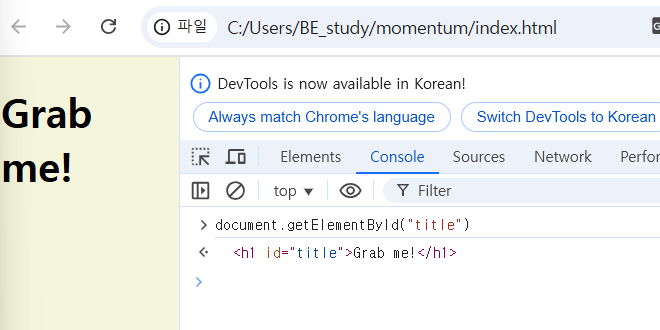
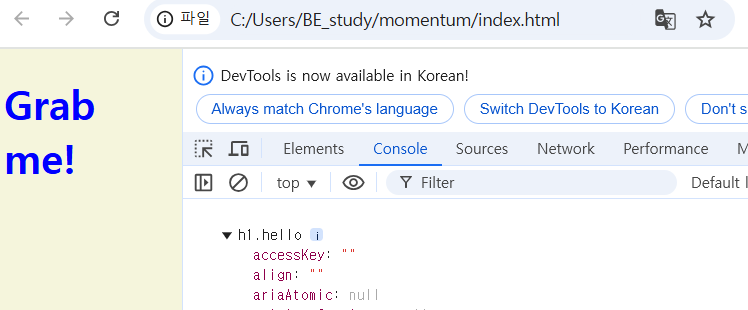
const title = document.getElementById("title");

console.dir(title);
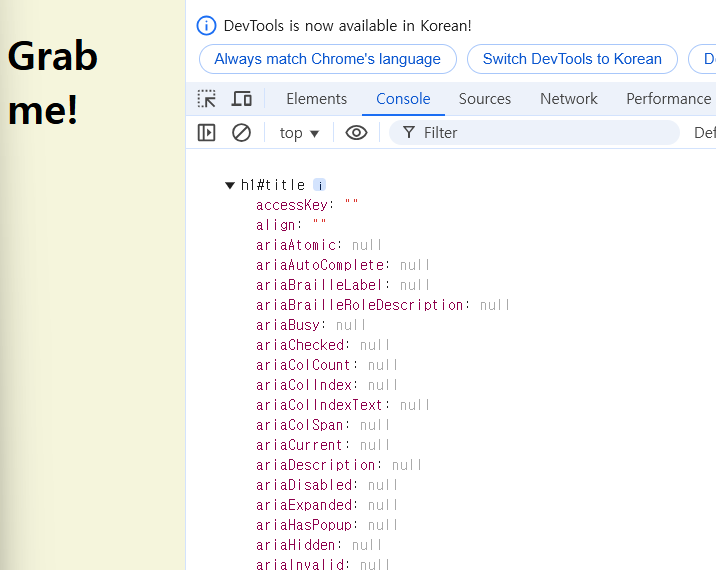
이런 식으로 JavaScript에서 HTML을 읽을 수 있다.
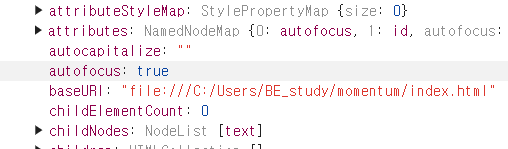
autofocus: false이기 때문에 index.html에 autofocus를 추가해준다.
<!DOCTYPE html>
<html lang = en>
<head>
    <meta charset="UTF-8">
    <meta http-equiv="X-UA-Compatible" content="IE=dege">
    <meta name="viewport" content="width=device-width, initial-scale=1.0">
    <link rel="stylesheet" href="style.css">
    <title>Momentum</title>

</head>
<body>
    <h1 **autofocus** id="title">Grab me!</h1>
    <script src="app.js"></script>
</body>
</html>
JavaScript에서는 <h1 autofocus id=”title”>Grab me!</h1> 이 HTML element를 가지고 오지만, HTML 자체를 보여주지는 않는다.
Searching For Elements
<!DOCTYPE html>
<html lang = en>
<head>
    <meta charset="UTF-8">
    <meta http-equiv="X-UA-Compatible" content="IE=dege">
    <meta name="viewport" content="width=device-width, initial-scale=1.0">
    <link rel="stylesheet" href="style.css">
    <title>Momentum</title>

</head>
<body>
    **<h1 class="hello">Grab me!</h1>
    <h1 class="hello">Grab me!</h1>
    <h1 class="hello">Grab me!</h1>
    <h1 class="hello">Grab me!</h1>
    <h1 class="hello">Grab me!</h1>
    <script src="app.js"></script>**
</body>
. </html>
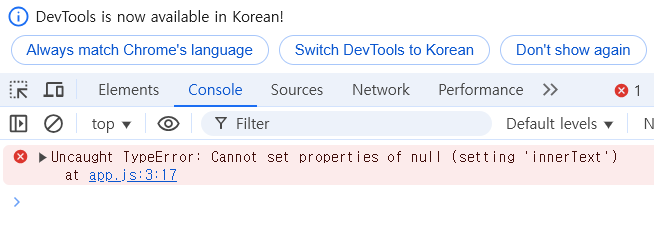
코드 내에 어떤 값이 null이라는 뜻이다. 즉, 내가 아무것도 없는 것(null)의 innerText를 접근하려고 했던 것을 의미한다.
const title = document.getElementById("something");

title.innerText = "Got you! "

console.log(title.className);
이 코드의 document.getElementById(“something”); 이 부분이 null이다. something이란 id를 가진 항목이 없기 때문이다. <h1 class="hello">Grab me!</h1> 여기서는 hello라는 class만 있을 뿐, title은 null인데 null의 innerText를 변경하려고 했기 때문에 오류가 난 것이다.
const hellos = document.getElementsByClassName("hello")

console.log(hellos);
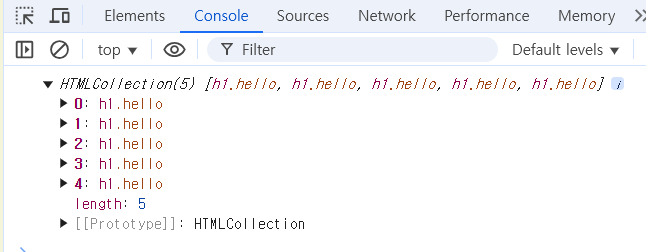
→ h1이 들어있는 array!
- getElementsByClassName() : 많은 element를 가져올때 씀(array를 반환)
- getElementsByTagName() : name을 할당할 수 있음(array를 반환)
- querySelector : element를 CSS selector방식으로 검색할 수 있음 (ex. h1:first-child)
Events
const title = document.querySelector("div.hello:first-child h1");

console.dir(title);

title.style.color ="blue";
const title = document.querySelector("div.hello:first-child h1");

function handleTitleClick(){
    console.log("title was clicked!");
}

title.addEventListener("click", handleTitleClick);
- eventListener : event를 listen함 → js에게 무슨 event를 listen하고 싶은 지 알려줘야 한다.
- title.addEventListener(“click”) : 누군가가 title을 click하는 것을 listen해야 한다.
→ click하면 handleTitleClick이라는 function이 동작하길 원함 따라서 function을 JavaScript에 넘겨주고, 유저가 title을 click할 경우에 JavaScript가 실행버튼을 대신 눌러주는 것이다.
listen하고 싶은 event 찾는 방법
- 구글에 찾고 싶은 element의 이름 검색하기 ex) h1 html element mdn(mozilla developer network)
- 그 중에서 web APIs 이 포함된 페이지 찾기 (JS 관점의 HTML heading element란 의미)
-
- console.dir을 통해서 element를 console에 출력시키기
- property 이름 앞에 on 이 있다면 그게 바로 event listener!!!!
사용할때는 on 빼고 쓰기!
More Events
const title = document.querySelector("div.hello:first-child h1");

function handleTitleClick() {
    title.style.color = "blue";
}

function handleMouseEnter() {
    title.innerText = "Mouse is here!";
}

function handleMouseLeave() {
    title.innerText = "Mouse is gone!";
}

title.addEventListener("click", handleTitleClick);
title.addEventListener("mouseenter", handleMouseEnter);
title.addEventListener("mouseleave", handleMouseLeave);
title.addEventListener(“click”, handleTitleClick); title.addEventListener(“mouseenter”, handleMouseEnter); title.addEventListener(“mouseleave”, handleMouseLeave); 아래와 같이 변경(같은 의미)
const title = document.querySelector("div.hello:first-child h1");

function handleTitleClick() {
    title.style.color = "blue";
}

function handleMouseEnter() {
    title.innerText = "Mouse is here!";
}

function handleMouseLeave() {
    title.innerText = "Mouse is gone!";
}

title.onclick = handleTitleClick;
title.onmouseenter = handleMouseEnter;
title.onmouseleave = handleMouseLeave;
위에 두 코드는 동일하나 addEventListener를 선호하는 이유는 removeEventListener을 통해서 event listener을 제거할수있기 때문이다.
CSS in Javascript
<!DOCTYPE html>
<html lang = en>
<head>
    <meta charset="UTF-8">
    <meta http-equiv="X-UA-Compatible" content="IE=dege">
    <meta name="viewport" content="width=device-width, initial-scale=1.0">
    <link rel="stylesheet" href="style.css">
    <title>Momentum</title>

</head>
<body>
    <div class="hello">
        <h1 class="hello">Grab me!</h1>
    </div>

    <script src="app.js"></script>
</body>
</html>
const h1 = document.querySelector("div.hello:first-child h1");

function handleTitleClick() {
    console.log(h1.style.color);
    title.style.color = "blue";
    console.log(h1.style.color);
}

h1.addEventListener("click", handleTitleClick);
→ 해석
- const h1 = document.querySelector(“div.hello:first-child h1”);
-
첫 번째 div.hello 클래스를 가진 요소 내부의 첫 번째 <h1>를 선택해서 h1 변수에 저장한다.
const h1 = document.querySelector("div.hello:first-child h1");

function handleTitleClick() {
    const currentColor = h1.style.color;
    let newColor;
    if (currentColor === 'blue') {
        newColor = "tomato";
    } else {
        newColor = "blue";
    }
    h1.style.color = newColor;
}

h1.addEventListener("click", handleTitleClick);
But, style에 적합한 도구는 CSS이다!!! 따라서 app.js가 아닌 style.css에서 코드를 수정해보자.
body {
background-color: beige;
}
h1 {
color: cornflowerblue;
}
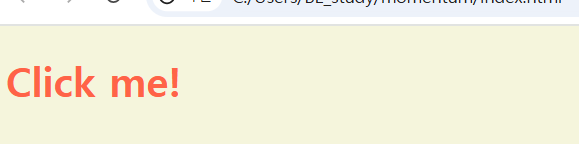
.active {
color: tomato;
}
h1의 색상은 blue로 설정하고, h1이든 span이든 간에 어떤 element든 tomato 색상을 가지게 설정했다.
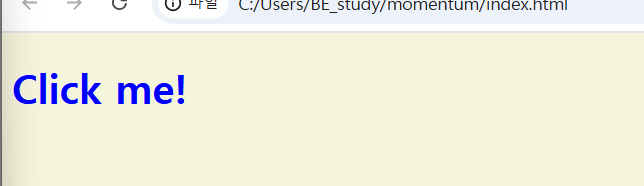
const h1 = document.querySelector("div.hello:first-child h1");

function handleTitleClick() {

}

h1.addEventListener("click", handleTitleClick);
그리고 나서 JavaScript에서 h1에 active class를 전달해줘야 한다. 따라서 아래와 같이 코드를 작성할 수 있다.
const h1 = document.querySelector("div.hello:first-child h1");

function handleTitleClick() {
    h1.className = "active";
}

h1.addEventListener("click", handleTitleClick);
→ 클릭 했을 때 클릭한 단어가 사라지도록 구현해보자!
const h1 = document.querySelector("div.hello:first-child h1");

function handleTitleClick() {
    if (h1.className === "active") {
        h1.className = "";
    } else {
        h1.className = "active";
    }
}

h1.addEventListener("click", handleTitleClick);
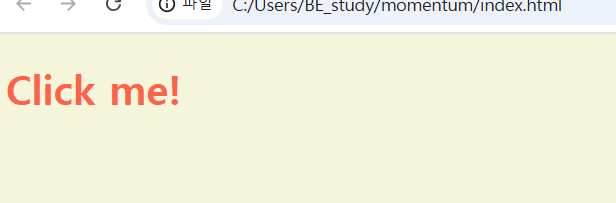
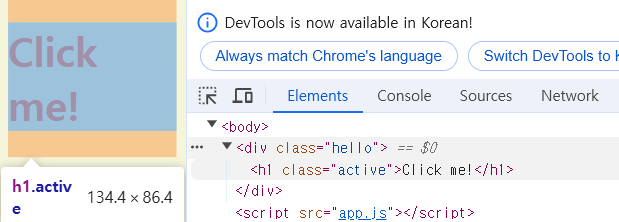
- 클릭하지 않았을 때
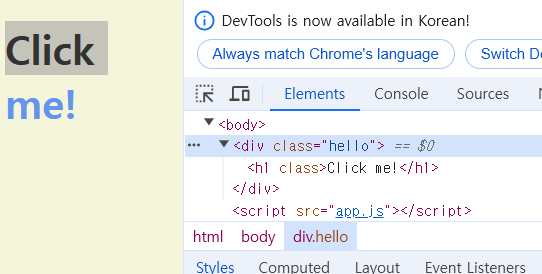
- 클릭 했을 때
const h1 = document.querySelector("div.hello:first-child h1");

function handleTitleClick() {
    const clickedClass = "clicked"
    if (h1.classList.contains(clickedClass)) {
        h1.classList.remove(clickedClass);
    } else {
        h1.classList.add(clickedClass);
    }
}

h1.addEventListener("click", handleTitleClick);
classList 우리가 class들의 목록으로 작업할수 있게끔 허용해준다. className은 이전calss를 상관하지 않고 모든걸 교체해 버린다. classList를 이용하는건 js에서 건드리는건 HTML element가 가지고있는 또하나의 요소 사용하는 것이다. (element의 class내용물을 조작하는 것을 허용한다는 뜻) contains은 우리가 명시한 class가 HTML element의 class에 포함되어 있는지 말해준다.
돌아가기: 2024 하반기 Python Coding Study